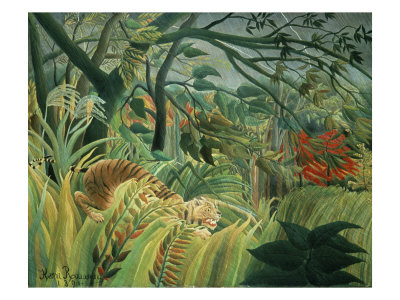
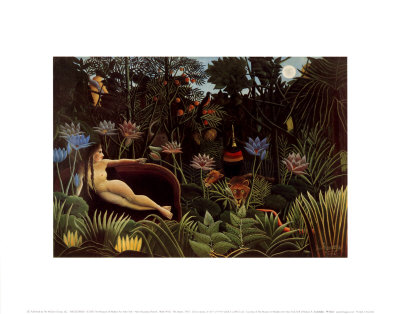
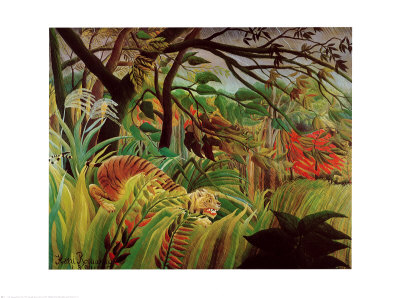
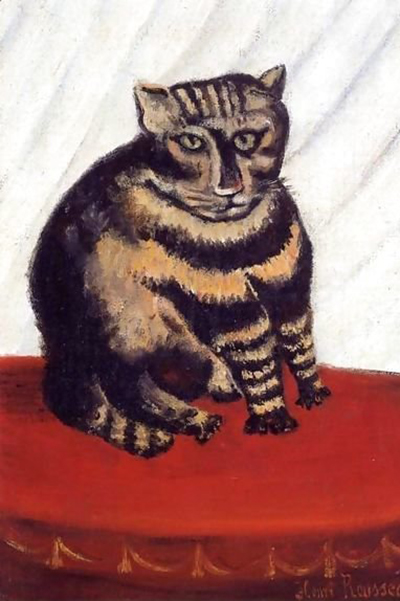
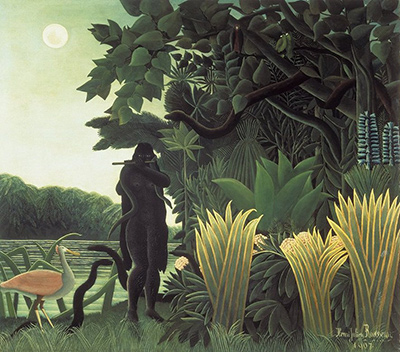
Watercolor painting is traditionally celebrated for its fluidity and transparency, yet the most vibrant, textured works often emerge from a deliberate manipulation of media rather than just water. By introducing adhesive elements like glue, tape, and liquid adhesives into the watercolor palette, artists can break free from the predictability of standard washes and achieve surreal, collage-like effects reminiscent of early 20th-century artists like Henri Rousseau. These techniques allow the wet-on-wet tradition to collide with the tactile properties of paper and pigment, creating unexpected depths and shadows that feel almost three-dimensional.
Mastering the Adhesive Application
The foundation of any successful adhesive technique lies in the precise application of the medium itself. Whether you are using PVA glue, liquid mask, or even masking tape, the key is to understand how the material interacts with the paper's surface tension. When applying glue, it should be spread thinly to avoid pooling, which can distort the paper or create uneven drying times that ruin the delicate balance of a wash. For masking tape, the focus is on placement; the artist must calculate where the pigment will settle after the adhesive is removed, ensuring that the resulting blank space complements the surrounding colors rather than looking like an accidental erasure.
Creating Textured Surfaces with Masking Tape
Masking tape offers a unique opportunity to control the flow of water and pigment with surgical precision. By placing strips of tape across the paper while the watercolor is still wet, you create hard edges that define shapes and objects. Once the paper dries completely, the tape is peeled away, leaving behind sharp, crisp lines that can hold their own form against the softer gradients of the wash. This method is particularly effective for creating the distinct, almost cut-out appearance found in naive art, where geometric forms coexist with organic backgrounds.
One powerful application of masking tape is the creation of layered transparency. If you apply tape in a grid pattern and then flood the paper with diluted color, the gaps between the tape strips will act as a stencil, revealing the white of the paper beneath while the surrounding areas become saturated. This technique allows for the construction of complex scenes with high contrast and clear delineation between foreground and background elements.
The Art of the Glue Wash
Beyond simple masking, liquid glue can be used as a binding agent to create areas of intense saturation and texture. When a small amount of glue is brushed over a specific section of wet paper and then a heavier concentration of pigment is applied on top, the glue acts as a barrier that prevents the water from penetrating the paper fibers in that area. This results in a hard, opaque patch of color that sits physically above the rest of the wash, mimicking the effect of thick impasto painting in a traditional medium.
This glue wash technique allows artists to build up value and depth in a single step. By varying the amount of glue and the intensity of the pigment, you can create a range of effects from glossy, reflective surfaces to matte, dusty textures. The interplay between the slick, sealed area and the absorbent, waterlogged surrounding paper creates a visual tension that draws the viewer's eye immediately to the center of the composition.
Layering for Depth and Surprise
The true power of combining glue and tape in watercolor comes from the layering process. Artists can apply a base wash, let it dry, add tape or glue patches, and then apply a second, darker wash over the top. When the final layer is finished and the adhesives are removed, the underlying colors remain visible, creating a rich, multi-layered effect that suggests a history within the image. This technique is invaluable for rendering complex subjects, such as dense foliage or intricate architectural details, where multiple planes of depth are required.
To achieve the most dynamic results, consider working in layers of different densities. Start with a light, translucent wash to establish the atmosphere, then introduce opaque glue patches to define solid forms, and finally, use tape to carve out highlights or specific shapes. This approach allows for a level of control that is difficult to achieve with water alone, giving the artist the ability to sculpt light and shadow directly onto the paper surface.
Practical Tips for Consistent Results
While these techniques are highly rewarding, they require patience and practice to master. Rushing the drying process or applying too much adhesive can lead to lifting unwanted pigment or warping the paper, which ruins the delicate nature of watercolor. It is essential to work in a well-ventilated area, especially when using liquid adhesives, and to have all materials laid out before starting the session.
Keep a supply of different types of tape, from painter's tape to standard masking tape, as each behaves slightly differently with water and pigment. Similarly, experiment with various types of glue, from craft glue to artist-grade acrylic gels, to find the texture that best suits your specific vision. By maintaining a systematic approach and carefully observing how each material interacts with the paper, you will develop a personal style that blends traditional watercolor with the innovative techniques of collage and mixed media.
- Test a small scrap of paper before committing to your final canvas to gauge how the specific brand of tape reacts to the acidity of your watercolor pigment.
- Ensure your workspace surface is perfectly flat and non-absorbent to prevent accidental sticking of the paper during the application process.
- Allow at least 24 hours for tape removal if the paper has been heavily saturated, as some adhesives can take longer to release cleanly from thick pigment layers.
- Mix your glue with a tiny amount of water before application to control viscosity and ensure it spreads evenly without creating unwanted ridges.
- Use a stiff brush rather than a soft one when applying adhesive to maintain control and prevent the bristles from dragging the pigment into the glue barrier.