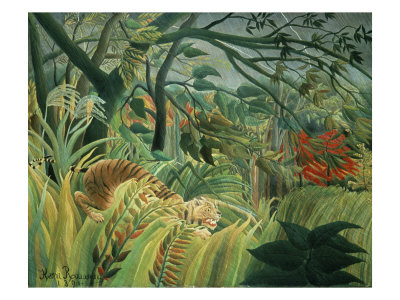
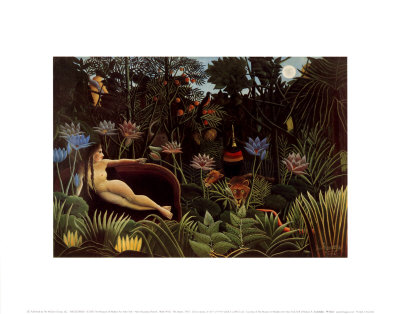
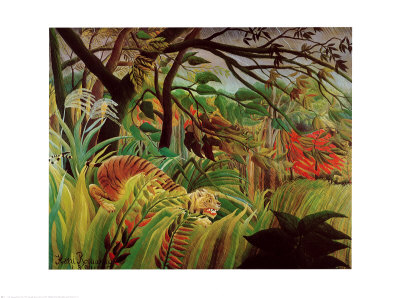
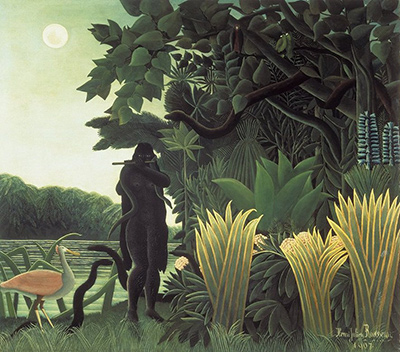
Capturing the fleeting essence of water in a naive style requires a unique balance between instinctive energy and deliberate technique. Just as Henri Rousseau infused his jungle scenes with a dreamlike logic, creating water ripples demands a similar harmony where chaos serves the underlying order of nature. This guide explores how to translate the fluid motion of waves onto flat canvas without losing the magical realism that defines this artistic movement.
Mastering the Undercurrent of Color
Before a single brushstroke is laid down to create movement, the artist must establish a solid foundation of color that acts as the bedrock for the water's life. In naive art, colors are often pure and intense, avoiding the muddy blends of academic realism. The first step is to choose a vibrant base hue, such as a deep azure or a vibrant turquoise, that represents the depth beneath the surface. From this core, lighter shades of blue, white, and touches of gray should be prepared to suggest light reflecting off the water. It is crucial to keep these colors distinct; mixing them too early can create a dull sludge rather than the sparkling clarity of a lake or the churning energy of a river. The goal is to create a palette that feels alive, where the colors seem to pulse with an internal energy waiting to burst forth in motion.
The Art of the Brushstroke
Once the colors are ready, the execution of the brushwork becomes the primary vehicle for expression. Naive artists do not mimic the microscopic details of water molecules but rather capture the feeling of the wave. The strokes should be loose, confident, and slightly unpredictable, allowing the bristles to carry the paint in dynamic arcs. When painting ripples, imagine the path of a stone thrown into a pond; the lines should start wide and taper toward the center of the disturbance. It is essential to vary the pressure applied to the brush, pressing hard to lay down thick, opaque lines for the crests of the waves and pulling lightly for the softer, shadowed troughs. This variation in texture creates a tactile quality that invites the viewer to feel the movement of the water before their eyes.
Creating the Illusion of Depth
The true magic of painting water lies in how the artist manipulates light and shadow to create the illusion of three dimensions on a two-dimensional surface. While the overall strokes may appear chaotic, they must follow a logical progression to maintain control. Deep shadows should be painted in cooler, darker tones, often leaning toward indigo or slate, while the highlights should be blown out white or pale yellow to mimic sunlight hitting the peaks. The transition between light and dark is where the rhythm of the water emerges. By layering thin washes of color over the initial bold strokes, you can add subtle gradations that suggest the complex layers of water swirling beneath the surface. Remember that in naive art, the eye is not meant to see the exact physics of fluid dynamics but rather the spiritual truth of the scene.
Guiding the Chaos with Composition
Even the most free-spirited artist needs a map to navigate the canvas. To ensure the ripples look controlled, consider the composition of the water element within the larger painting. The ripples should generally flow in a direction that leads the viewer's eye through the piece, perhaps from the bottom of the canvas toward the horizon, or spiraling inward toward a central focal point. Use the largest, most prominent waves to anchor the bottom of the composition and smaller, more delicate lines to fade into the distance. This creates a sense of scale and perspective, even in a style that eschews strict realism. If the strokes begin to feel too random, step back and assess the flow; you may need to erase or paint over sections to guide the eye along a more satisfying path.
Practical Tips for Execution
To help you refine your technique, here are a few specific strategies to keep your water scenes dynamic and engaging:
- Start with a light touch to sketch the general shape of the waves before committing to heavy layers of paint.
- Use a palette knife for the highlights to create sharp, jagged edges that suggest the frothy tops of breaking waves.
- Do not let the water fill the entire canvas; leaving negative space allows the viewer's imagination to complete the scene.
- Mix your white pigment with a tiny amount of blue to create a luminous, creamy highlight rather than a stark, flat white.
- Work quickly after the paint is wet to capture the fluid, merging nature of the ripples before they dry into stiff lines.
By combining bold color choices with rhythmic brushwork and thoughtful composition, you can create water scenes that feel both wild and composed. The key is to trust your intuition while maintaining a structural framework that prevents the painting from becoming mere scribbles.