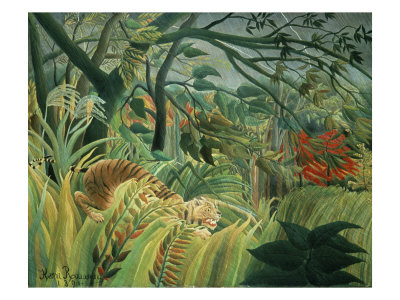
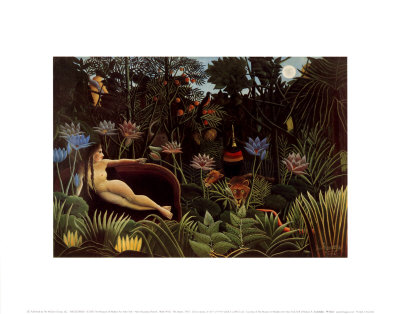
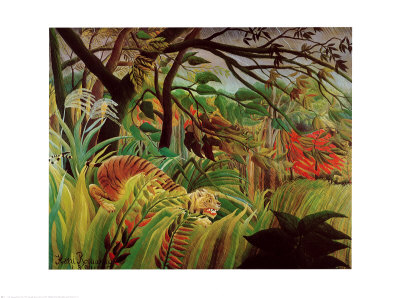
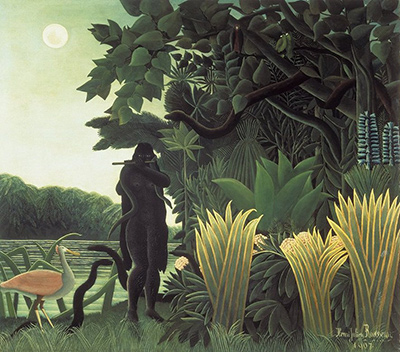
Bleeding edges are a common challenge for watercolor enthusiasts, often resulting in soft, undefined boundaries that can undermine the crispness and precision characteristic of a well-crafted painting. Whether you are recreating the lush, detailed foliage of Henri Rousseau's jungle scenes or exploring modern abstract compositions, maintaining distinct lines is crucial for the visual impact of your work. Understanding how to prevent and correct these洄溢 issues can transform a shaky finish into a confident, professional result.
Preparing the Paper Surface
The foundation of any successful watercolor piece lies in the interaction between the pigment, the binder, and the substrate itself. Many bleed problems arise not from the paint alone, but from the condition of the paper. If the paper is too smooth or lacks the necessary tooth to grip the water and pigment, the liquid will spread too freely, creating fuzzy edges. Conversely, if the paper is too rough, it can cause the paint to pool unevenly, leading to unpredictable runs. Before applying a single drop of color, inspect your sheet for signs of warping or uneven texture.
To mitigate this, ensure your paper is properly sized. Unsized paper allows water to penetrate quickly, causing pigments to migrate before they can be controlled. Look for papers specifically marketed as "cold-press" or "hot-press" with a degree of sizing, or consider applying a dilute solution of gelatin or rice starch to the surface beforehand. This technique, known as sizing, creates a barrier that slows the absorption rate, giving you more time to manipulate the paint. It effectively locks the pigment in place, allowing for sharper lines and better control over the flow of water. Additionally, always work on a flat surface and lay the paper down gently to avoid creases that can trap moisture and distort the paper structure as the paint dries.
Managing Water and Pigment Ratios
The relationship between water and pigment is the most critical factor in controlling bleeding. A high water-to-pigment ratio acts like a flood, carrying particles across the paper surface and creating soft, indistinct edges. This is particularly problematic when attempting to define hard lines or replicate the intricate details found in naive art styles. To achieve a crisp result, you must adopt a strategy of using less water relative to the amount of paint. Start with a more concentrated solution and add water gradually only if necessary to achieve the desired transparency.
It is also essential to consider the viscosity of your paints. Some tubes are mixed with more binder than others, affecting how they flow on the paper. Always test your specific paint on a scrap piece before committing to your main canvas. If you notice that your paint is spreading too quickly, try adding a drop of gum arabic or a neutral medium to the paint before applying it. This increases the viscosity slightly, making the paint behave more like a paste and resist unwanted migration. Furthermore, avoid over-wetting the paper; the goal is to have the paper absorb the paint quickly, not to saturate it to the point where gravity pulls the pigment into surrounding areas.
Practical Techniques for Edge Control
Once you have prepared your surface and managed your ratios, specific techniques can further refine your control over the edges. One of the most effective methods is to allow the paint to dry completely before adding subsequent layers. This prevents the new water from reacting with the wet underlying pigment, which often causes halos or softening of previously defined lines. Another approach involves using a stiff brush to apply the paint rather than a soft one, as the bristles can help push the pigment rather than spread it.
Here are some specific strategies to keep your edges clean:
- The Feathering Stop: When painting a boundary, apply a small amount of clean water to the edge of the wet paint. This "feather" can be used to blend areas softly, but be careful not to overdo it, as it can erase the definition you just worked to create.
- White Wash Overlays: For white areas that need to be defined against a darker background, use a white wash (white pigment mixed with a very small amount of water) rather than letting the paper show through. This ensures the edge remains sharp and prevents water from spreading into the colored areas.
- Dry Brushing: After the initial wash has dried, you can use a dry brush with opaque paint to add details and define edges. This technique adds texture and clarity without reintroducing moisture that could reactivate the underlying layers.
Correcting Mistakes After Drying
Sometimes, despite the best efforts, a bleed occurs and leaves a soft, unwanted edge. Fortunately, there are practical ways to fix this once the painting is dry. Do not attempt to scrub the area while the paint is still wet, as this will only smear the pigment further and create a muddy mess. Instead, wait for the painting to dry completely in a dust-free environment. Once dry, you can use an eraser or a gum eraser to gently lift the pigment from the raised areas where the bleed occurred. Be gentle to avoid damaging the paper fibers.
Another effective method for fixing dried bleed is to use a liquid white or a darker tone to cover the affected area. If the edge is too light, a liquid white can lift the pigment back to the surface, creating a new, sharper boundary. If the edge is too dark or muddy, applying a darker tone can be used to mask the issue and create a new, intentional line. In cases where the bleed has significantly compromised the painting, it may be necessary to use a sharp razor blade to carefully cut out the affected area, though this is a last resort that requires steady hands and caution. Always work in a well-ventilated area when using solvents or sharp tools.
Patience and Practice
Fixing bleeding edges is less about a single trick and more about developing a consistent workflow and understanding the behavior of your materials. Every piece of paper and every tube of paint reacts slightly differently, so what works for one session may need adjustment for the next. Practice on scrap paper to build your intuition regarding water flow, pigment load, and drying times. Over time, you will develop a muscle memory that allows you to anticipate where the water will go and control it with minimal effort.
Embrace the process of experimentation. Each time you encounter a bleed, whether by accident or by design, it is an opportunity to learn more about the unique properties of your watercolor paints and the texture of your paper. By mastering the balance between water and pigment, and by employing techniques that respect the limitations of the medium, you can achieve the crisp, confident lines that define a truly professional watercolor painting.