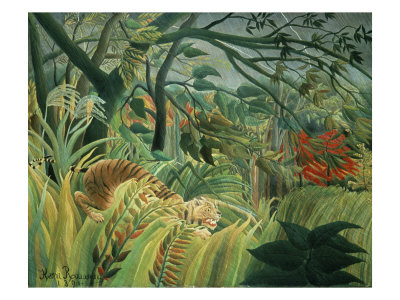
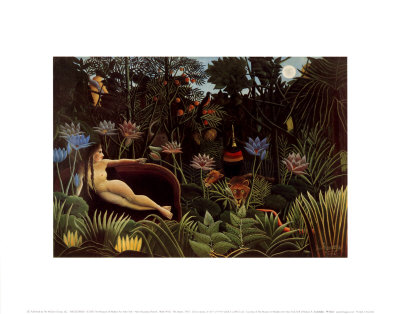
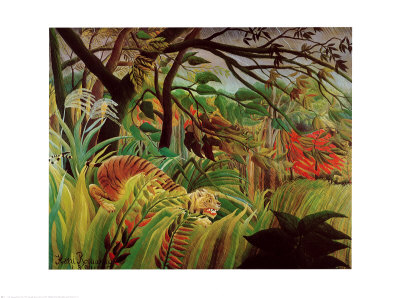
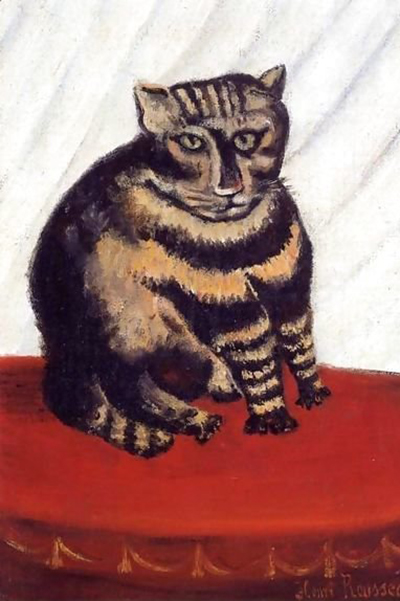
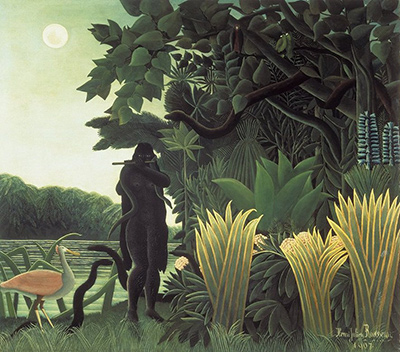
In the vibrant, dreamlike worlds of Henri Rousseau, the boundary between reality and imagination is often razor-thin, yet defined by striking, hard lines that anchor the surreal. Mastering these crisp edges is essential for any artist seeking to emulate the unique visual language of naïve art, where the brushstroke serves not just to cover, but to construct. This guide will walk you through a practical technique using masking tape to achieve that definitive separation between light and dark, creating the solid, unyielding forms characteristic of the jungle masters.
Preparing Your Canvas for Precision
The foundation of a successful hard-edge composition lies not in the paint itself, but in the meticulous preparation of the surface. Before a single drop of pigment touches the linen or board, you must ensure that your canvas is taut, flat, and free of dust or lint. Any imperfection in the texture or alignment can compromise the integrity of the lines you are about to create. Once the surface is ready, select your masking tape with care. Standard artist's tape is often too thin and may not adhere enough to hold sharp edges against the paint, while heavy-duty packing tape can leave a gummy residue that is difficult to clean. The ideal medium is a specialized masking tape designed for precision work, which offers a strong adhesive that peels away cleanly without damaging the paint layers underneath.
Designing the Composition with Intent
Once your tools are prepared, the next step is to visualize the hard edges within your specific composition. In naïve art, shapes are often geometric and distinct, resembling cutouts rather than organic blends. You must plan where your subjects will intersect with the background, deciding exactly where the light forms will end and the shadows will begin. This planning phase is crucial because it determines the placement of your tape. If you are painting a tree trunk that stands firmly against a sky, you must decide whether the edge should be a clean, mathematical line or a slightly softened, organic curve. The choice here dictates the emotional tone of your painting; a rigid, straight edge suggests stability and permanence, while a jagged or irregular edge can convey tension and movement.
Applying the Tape with Care
With your design mapped out, it is time to apply the masking tape to the canvas. The most important aspect of this step is pressure and alignment. Do not press down too lightly, or the tape may lift and create a gap between the canvas and the adhesive, resulting in an uneven line. Conversely, pressing too hard can distort the canvas fibers, leaving a permanent indentation that will show through the paint later. Use a soft, clean cloth or your gloved finger to gently smooth the tape down from the center outward, ensuring there are no air bubbles or wrinkles. If you are creating multiple lines, such as the parallel stalks of a grassy field or the stripes on a zebra, measure your distances carefully before applying the tape to ensure uniformity. Once the tape is securely in place, take a moment to inspect your work from a distance. The contrast between the white tape and the raw canvas should be sharp and unambiguous, ready to become a permanent boundary in your painting.
The Art of the Negative Space
Working within the confines of the masking tape introduces a fascinating element of negative space that is central to the naïve aesthetic. When you paint inside the taped area, the paint stops abruptly at the edge, creating a "hard stop" effect that is impossible to achieve with a brush alone. This technique allows you to focus entirely on the texture and color within the shape without worrying about the bleeding of adjacent forms. It forces the viewer's eye to acknowledge the boundary itself, making the object feel solid and tangible. This separation is what gives the paintings their storybook quality, where each element feels distinct and isolated from the others, much like illustrations in a children's book where objects are clearly defined against their surroundings.
Revealing the Final Edges
Once your painting is complete and the paint is fully cured, the reveal process requires patience and precision. Removing the tape too soon can smudge the fresh paint, ruining the sharpness of the edge you worked so hard to create. Wait until the paint is bone dry, ideally for at least 24 hours, to ensure that the solvents have evaporated completely. When you are ready to remove the tape, start at one corner and peel slowly and steadily. If you encounter a stubborn spot, gently lift the corner with a palette knife or a piece of plastic to avoid tearing the tape or pulling off wet paint. If any paint does bleed under the tape, you can often cover it with a small dab of white or neutral paint and blend it in, though ideally, you should avoid this entirely. The final result should be a crisp, clean line that defines the shape with absolute clarity, capturing the spirit of the naive artist who sees the world in distinct, unblended blocks of color and form.
To maximize the effectiveness of this method, consider the following best practices for your workflow:
- Always work on a clean surface to prevent dust from interfering with the tape's adhesion.
- Ensure your lighting is consistent to verify the accuracy of your straight lines before painting.
- Use a variety of tape widths to handle both fine details and large structural shapes effectively.
- Keep a palette knife nearby for precise adjustments or removal of excess paint before peeling.
- Practice patience during the drying phase to guarantee the integrity of the final hard edges.