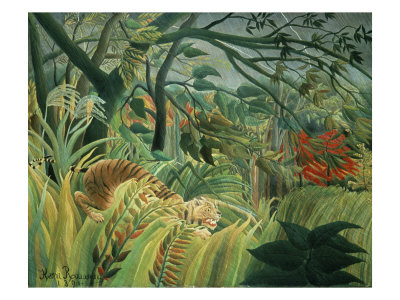
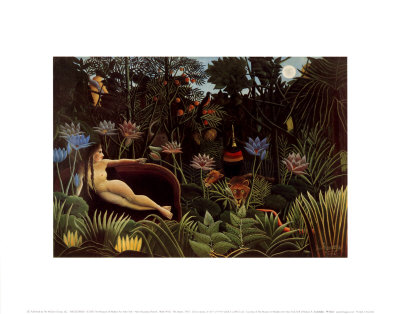
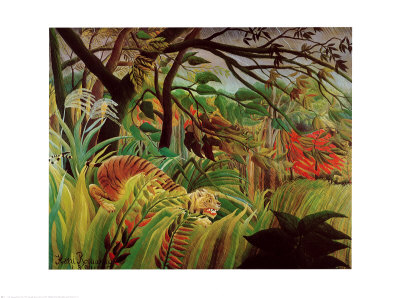
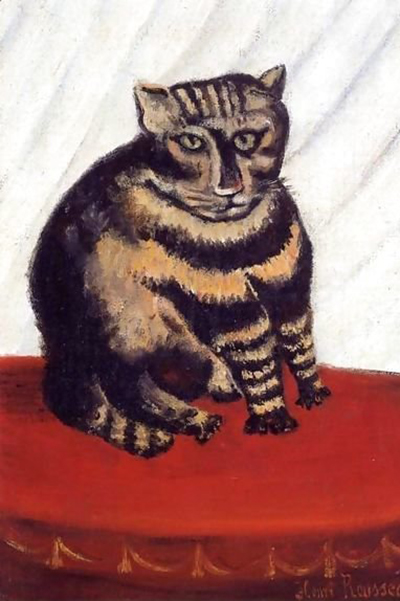
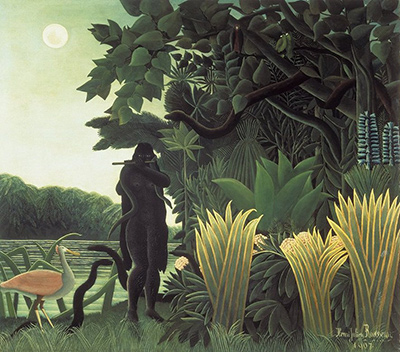
Mastering the art of layering transparent glazes in naïve watercolor is a transformative journey that turns simple washes into vibrant, jewel-like depths, mirroring the dreamlike quality found in the works of Henri Rousseau. While traditional academic painting often seeks to hide the brushstroke, the naïve approach embraces lightness, allowing colors to sing through one another to create an ethereal, glowing atmosphere. This guide will walk you through the delicate process of building these luminous layers without compromising the unique, raw spirit of the style.
Preparing Your Palette and Mindset
Before touching the brush, it is crucial to understand that naïve watercolor does not merely copy nature but interprets it through an inner, emotional lens. The goal of glazing is not to create complex shadows as seen in oil painting, but to suggest light filtering through the air or emanating from within the subject itself. You will need high-quality, cold-pressed watercolor paper with a good tooth to hold the pigment without becoming too slick, though the texture should not be heavy or industrial. Select a limited palette of pure, unbleached pigments that are known for their transparency, as opaque colors will ruin the delicate effect you are seeking.
Understanding the Nature of the Glaze
A glaze is a thin, translucent layer of paint applied over a dried underpainting to modify its color or value. In the context of naïve art, the distinction between a wash and a glaze is subtle but vital; a wash is often a single, broad application, whereas a glaze is an intentional, thin veil designed to alter the hue beneath it. Think of it as putting a colored lens over your eye; the world below changes, yet the lens itself remains invisible. The key to success is ensuring that the first layer is completely dry before applying the next, preventing the pigments from mixing unpredictably and muddying the result.
Essential Tools and Materials Checklist
To ensure your session runs smoothly and the results are as luminous as possible, gather the following specific items before you begin:
- High-quality 190gsm cold-pressed watercolor paper, ideally from a brand like Arches or Canson.
- Fine-tipped brushes with soft, flexible bristles, such as synthetic filberts or natural hair rounds.
- A small mixing palette with ample surface area for diluting pigments to watery consistency.
- Pure water, preferably filtered, to avoid impurities that might stain the paper fibers.
- A clean, lint-free cloth or blotting paper for gently drying edges between layers.
- Sharp scissors for trimming the paper to your desired shape.
- A lightbox or a window with diffused natural light to inspect your layers accurately.
- Permanent markers for labeling your specific paint mixtures on the palette.
The Layering Process: Step-by-Step
To achieve the desired luminosity, you must follow a disciplined sequence of actions, respecting the drying time of the paper and the pigment.
- Establish the Foundation: Begin with a very pale wash that captures the general value of your subject, such as the sky or the water. Do not push for detail here; the structure will emerge later.
- Allow to Dry: Wait until the paper is completely dry to the touch. Rushing this step is the most common mistake, leading to dark, uneven spots.
- Apply the First Glaze: Mix a slightly more saturated version of your base color, perhaps with a touch of complementary color, and apply it very thinly. The goal is a sheen, not a coat.
- Repeat with Variation: Continue adding layers, each time slightly more intense or shifted in hue. In naïve art, you might add a layer of warm yellow over cool blue to make the sky appear to burn with sun, or a layer of deep violet over green to make foliage seem to glow in twilight.
Advanced Techniques for Luminosity
Once you have mastered the basic layering, you can explore advanced techniques to enhance the dreamlike quality of your paintings. One powerful method is the use of white highlights placed over dried glazes to simulate light sources. By painting a white stroke over a dark, glazed area, you create the illusion of a highlight that seems to come from the paper itself rather than the paint on top. This technique is essential for rendering the intense, almost supernatural light often seen in Rousseau's forests and jungles. Additionally, you can experiment with overlapping glazes from different angles to create a sense of volume without the hard edges typical of realistic shading. Remember that in naïve watercolor, the "mistake" of a brushstroke becoming visible is often celebrated, adding to the texture and character of the piece.
Troubleshooting Common Issues
Even experienced artists encounter hurdles when working with glazes, so it is helpful to recognize the signs of failure. If your colors look muddy or dull, it usually means the layers were not dry enough, causing the pigments to mix on the paper fibers rather than sitting on top of one another. Conversely, if the image looks too flat or lacks depth, you may be applying the pigment too thinly, failing to build sufficient value. In these cases, the solution is often to let the paper dry longer or to mix a slightly richer glaze while maintaining extreme thinness. Patience is your most valuable tool; the beauty of naïve watercolor lies in its quiet, gradual revelation of form and light, much like the unfolding of a dream. By respecting the nature of the medium and the spirit of the style, you can create paintings that feel alive, breathing with an internal light that captivates the viewer.