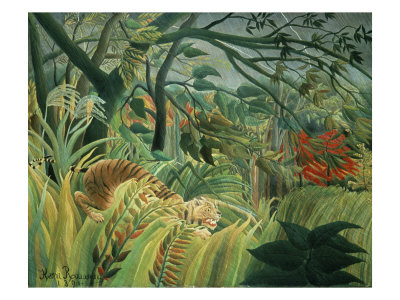
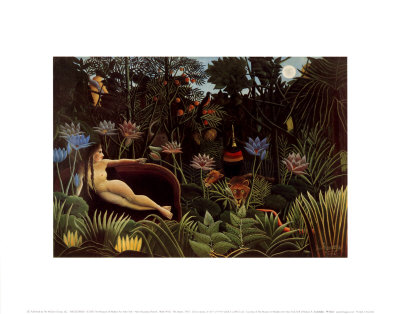
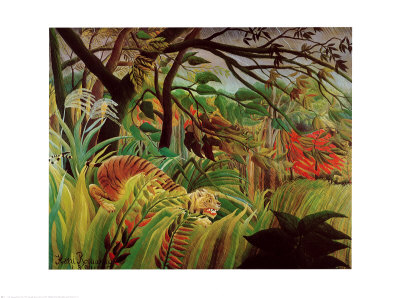
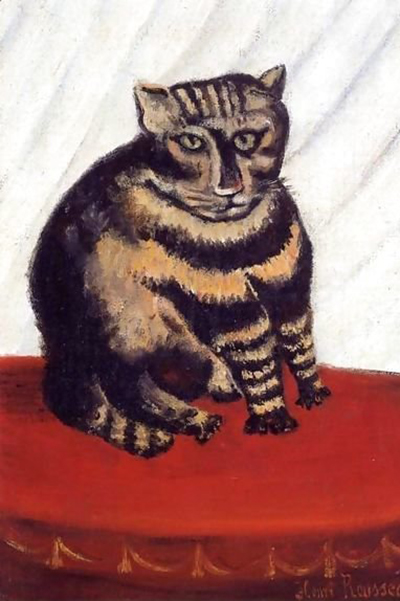
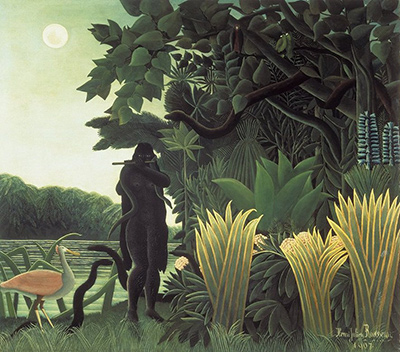
True to the spirit of Henri Rousseau, who famously crafted his masterpieces with a distinct, unrefined quality that felt more like a direct channel to nature than a calculated studio exercise, learning to mix your own raw colors transforms the act of painting from a technical task into a meditative journey. By bypassing the factory blends found in standard art supply stores, you reclaim control over the vibrancy and texture of your medium, allowing the inherent "naive" aesthetic to emerge naturally from your hands. This guide will walk you through the essentials of gathering materials and creating your own raw pigments to replicate that iconic, slightly rough-hewn look found in Rousseau's dreamscapes and jungle scenes.
The Foundation of Your Studio
Before a single drop of pigment is mixed, one must prepare the ground properly. The quality of your final work relies heavily on the purity of your starting materials, specifically the ground or binder used to suspend the pigments. For beginners aiming for a realistic yet naive finish, traditional linseed oil remains the gold standard due to its ability to keep colors vibrant and provide a depth that water-based mediums simply cannot match.
You will need high-quality linseed oil, which may come in pre-ground form or require preparation from raw nuts. In a small, clean glass jar, combine the oil with a small amount of fine linseed flour. Allow this mixture to sit for several days before use; this process, known as "mulling," allows the oil to fully penetrate the solids, creating a creamy, stable paste that will not separate over time. This homemade ground serves as the perfect base for mixing your primary colors, ensuring that the resulting paint dries with a consistent, rich hue that ages gracefully on canvas.
Preparing Your Primary Pigments
Once your ground is ready, you can begin creating your primary colors. The secret to achieving the specific, luminous quality seen in naive art lies in selecting the most pure forms of pigment available and mixing them directly with your homemade ground. Avoid pre-mixed paints that have been tinted with fillers or dyes, as these dull the inherent brilliance of the color.
To create a range of tones suitable for your artwork, you must master the mixing of your three primary colors: red, yellow, and blue. By varying the ratios of these basics, you can generate an infinite spectrum of hues without ever needing to purchase a single tube of secondary or tertiary color. This approach forces you to engage with the chemistry of color, leading to a more intuitive understanding of light and shadow, which is crucial for capturing the atmospheric perspective Rousseau often employed.
Mastering the Hue of Red
The red pigment is often the most challenging to get right, as the best versions, such as vermilion or cadmium red, can be quite expensive and are rarely sold in raw form. However, for a budget-friendly approach that still yields a vibrant, true red, you can utilize a mixture of ultramarine blue and a small amount of lead white. This combination creates a deep, saturated red that feels organic rather than synthetic.
When mixing this specific shade, it is vital to add the white gradually. Adding too much white too quickly can turn the red into a muddy brown or a dull pink, ruining the potential of the pigment. Conversely, adding too little blue will result in a color that is too orange or fiery. The key is to start with a base of blue and white, then introduce the red component slowly, stirring constantly until the desired crimson is achieved. This method not only saves money but also produces a color that possesses a subtle, earthy undertone characteristic of many naive masters.
Achieving the Perfect Yellow and Blue
While red requires a bit of alchemy to create, yellow and blue are more straightforward to obtain in raw forms. Look for a bright, lemon-yellow pigment and a deep, sky-blue or cobalt blue. These are the pillars upon which the entire palette is built. When mixing yellow, ensure you are using a pure variety, as cheap yellows often contain manganese or other stabilizers that can alter the color over time.
The blue pigment should be chosen carefully; a deep cobalt or Prussian blue offers the necessary darkness to create shadows, while a lighter ultramarine can be used for highlights. Mixing these with your linseed ground is simple: add a small amount of ground to a tube of the pigment, then slowly incorporate the oil. The consistency should be smooth and pourable but thick enough to stand up to the brush without sliding off the canvas. This texture is essential for the impasto style often seen in naive works, where the physical thickness of the paint adds to the visual impact.
The Art of Layering and Application
With your raw colors prepared, the focus shifts to how they are applied to the canvas. The naive style thrives on visible brushstrokes and a lack of hyper-realistic blending. Do not fear leaving streaks of color on the surface; instead, embrace them as part of the composition. Use a stiff, natural-bristle brush to apply the paint in thick, deliberate strokes that mimic the texture of the subject matter.
One effective technique is the glazing method, where a thin layer of color is applied over a darker underpainting to create depth and luminosity. This allows the raw pigments to interact with the layers beneath, creating complex optical effects that are difficult to achieve with pre-mixed paints. For example, to render a bright green leaf, mix your raw yellow and blue on the palette, but apply the mixture in thin, transparent layers rather than a solid block of color. This transparency lets the underlying tones of the ground and canvas show through, adding a richness that feels alive and breathing.
- Start with a light underpainting of the general composition using a mix of your blue and yellow.
- Allow this layer to dry completely before applying the next layer of color.
- Mix your raw reds and yellows on the palette and apply them with thick, textured strokes to the focal points of your painting.
- Leave some of the underpainting visible in the shadows to maintain a sense of depth.
- Clean your brushes frequently between colors to prevent mixing, as raw pigments dry faster than commercial paints.
By committing to the process of mixing your own raw colors, you not only save money but also align your practice with the timeless, honest spirit of naive art. The slight imperfections in your colors, the raw texture of the ground, and the vibrant, unfiltered hues will combine to create a work that feels authentic and deeply connected to the natural world.