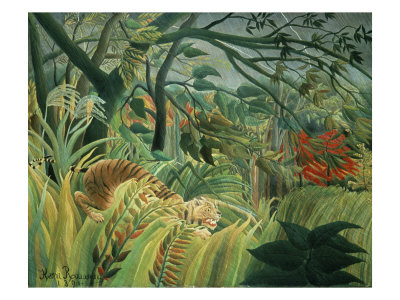
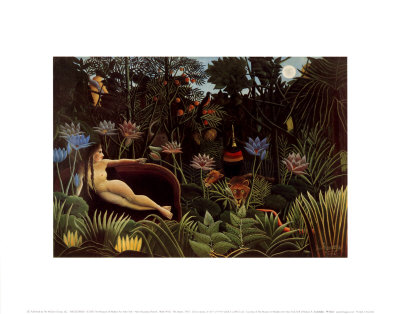
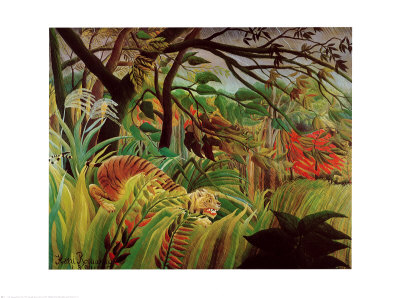
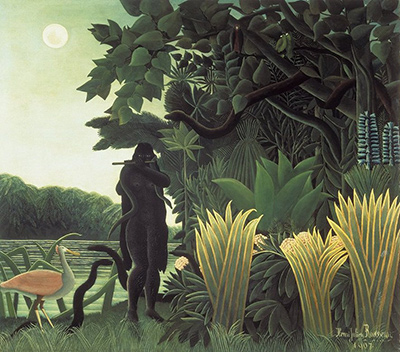
Henri Rousseau never hesitated to repeat a motif, whether it was the dense foliage of his jungle scenes or the stylized floral arrangements in his still lifes. While his hand was the primary tool that created his unique, dream-like textures, understanding the mechanics of repetition is essential for any artist wishing to capture that specific, rhythmic quality without spending hours on every single stroke. Stencils offer a practical shortcut that bridges the gap between loose impressionism and precise, decorative patterns, allowing you to focus on composition and color rather than the tedious labor of painting identical elements.
Understanding the Stencil as a Creative Tool
A stencil is not merely a mask for blocking out areas; it is a structured way to introduce rhythm and pattern into a painting. In the context of naive art, stencils help maintain consistency in shapes like leaves, flowers, or geometric motifs that might otherwise vary too much in size or form. By cutting out a shape from paper or cardstock, you create a negative space that, when inked or painted over, produces a clean, uniform result. This technique is particularly useful when depicting large backgrounds of vegetation where the visual weight of hundreds of individual leaves can overwhelm the viewer. The goal is not to make the leaves look exactly like botanical illustrations, but to create a sense of lushness and density that feels organic yet controlled.
Selecting and Cutting Your Shapes
The success of your stencil work depends heavily on the quality of your original design. When creating a master cutout, it is crucial to draw the shape on paper first, ensuring the lines are sharp and the proportions are balanced. You should consider the direction of the stroke; for leaves, for instance, a simple upward and downward motion with a sharp blade works better than a sawing motion, which can tear the paper and create frayed edges. If you are using a pre-existing image, trace it carefully onto a sheet of sturdy paper, perhaps tracing over the outlines to reinforce the edges before cutting. Remember that a slightly imperfect stencil can add a charming, handmade quality to your work, whereas a perfectly machine-cut edge might feel too industrial for a naive style.
Preparing the Surface for Adhesion
Once your stencil is cut, it must be prepared so that it adheres smoothly to your canvas or paper without warping or curling. Place the stencil face down on a flat, rigid surface like a wooden board or a thick piece of card to flatten the fibers. Dust the surface lightly with a soft brush to remove any loose paper particles that could prevent the stencil from lying flat. When applying it to your artwork, use a low-tack tape or a small amount of water-soluble glue along the edges to secure it. This ensures that when you apply your paint or ink, the stencil does not shift, which would ruin the alignment of your pattern. For large stencils, you may need to use masking tape in strips to hold it in place while you work around it.
Applying Ink and Paint with Control
The actual application of the stencil requires a steady hand and the right medium. If you are working with ink, use a brush with a soft, flexible bristle that allows you to pool the ink onto the paper or canvas before lifting it away. This pooling technique ensures that the ink seeps into the texture of the surface, creating the slightly uneven, organic look characteristic of Rousseau's work. When using paint, especially acrylics or watercolors, you can use a roller or a flat brush to apply a thick layer over the stencil. The key is to work quickly and confidently, allowing the paint to settle into the crevices of the paper without smudging the stencil. If you make a mistake, a simple piece of tape can be applied over the stencil while the paint is still wet to lift it away cleanly, or you can paint around the stencil and peel it off gently once the paint has dried.
Integrating Patterns into a Larger Composition
Finally, the most important aspect of using stencils is integrating the repeated pattern into the overall composition of your piece. Do not simply fill a corner with stenciled leaves; consider how the shapes interact with the rest of the painting. Vary the size of the stencils slightly or overlap them to create depth and a sense of three-dimensionality. Mix the stenciled elements with freehand painting to show that they are part of a living scene rather than a flat pattern. By combining the precision of the stencil with the spontaneity of freehand work, you can achieve a result that feels both structured and alive, paying homage to the repetitive beauty found in nature itself. This method empowers the artist to focus on the emotional impact of the scene rather than getting bogged down in the details of every single element.
Here are five fundamental tips to ensure your stencil work integrates seamlessly with your background:
- Begin by sketching your freehand elements first to establish the focal points before adding any stenciled patterns.
- Keep your stenciled shapes slightly darker or lighter than the surrounding freehand areas to create visual hierarchy.
- Use masking tape to create negative space around your stencils if you need to highlight specific areas of the composition.
- Vary the opacity of your paint application to mimic the natural depth found in Rousseau's forests.
- Practice peeling stencils off while the paint is still slightly wet to prevent leaving stubborn residue behind.
By following these guidelines, you can replicate the lush, layered textures of the jungle master while maintaining the distinct, naive charm that defines his artistic legacy. The balance between mechanical repetition and organic variation remains the key to mastering this versatile technique.